


BLOGS

Garage Door Opener Installation: Professional & Reliable Service in Gulfport, MS
Get expert garage door opener installation with fast, reliable service in Gulfport, MS. Our professionals ensure safe setup for smooth, hassle-free operation. Book today! There’s nothing quite as satisfying as opening your new garage door with a button, especially on a chilly morning or a rainy evening. Installing a garage door opener can quickly transform your daily routine, adding ease and convenience to your home. While some prefer hiring a professional, many homeowners find installing a garage door opener a manageable and rewarding DIY project. This guide walks you through the entire garage door opener installation process, from selecting the best model for your needs to gathering essential tools and understanding each step. It also covers tips for ensuring safety, maintaining your new setup, and troubleshooting common issues. Whether you’re a first-timer or just need a refresher, keep reading to set up your garage door opener confidently and enjoy seamless operation for years. Before you start the installation process, choosing the right type of garage door opener is essential. Each type has unique characteristics that may affect installation complexity and suit different garage configurations. Chain-drive openers are among the most popular choices due to their durability and power. They operate with a metal chain, making them suitable for heavier doors. While effective, they can be noisier than other options, so they’re ideal for detached garages where sound isn’t a concern. Belt-drive openers use a rubber belt, offering quieter operation than chain drives. They’re suitable for homes with attached garages, as they minimize noise that can transfer to living spaces. Belt-drive openers require slightly more precision during installation to ensure smooth, quiet operation. Screw drive openers function by rotating a threaded steel rod. These openers are known for their simplicity and fewer moving parts, which can make installation a bit more straightforward. However, they’re best suited for regions with moderate temperatures, as they may be sensitive to extreme cold or heat. Jackshaft openers are mounted on the wall beside the new garage door, freeing up ceiling space. They’re a good option for garages with unique layouts or high ceilings. Wall-mounted openers are compact and efficient, though installation requires different procedures than ceiling-mounted models. Gathering the necessary tools and materials before you begin will make the installation smoother. Here are the essential tools you’ll need: Most garage door openers come with mounting hardware and rails, but verify that all necessary components are included in your kit before starting. Now that you’ve selected your garage door opener and gathered your tools, follow these steps for a successful installation. Ensure your garage door is balanced and in good working condition before installing the opener. Disconnect the existing opener (if any) and test the door’s balance by opening it halfway. A balanced door should stay in place without falling or rising. Adjust the door’s spring system or consult a professional for assistance if it doesn’t. Most openers come with a rail that needs assembly. Lay out the rail pieces according to the instructions and secure them with the provided bolts. Make sure the rail is straight, as misalignment can cause issues during operation. Secure the motor unit to the ceiling, usually near the center of the garage door. Use the ladder to access the ceiling and install the mounting bracket with lag screws. Position the motor unit, ensuring it’s aligned with the center of the garage door. Once the motor is secured, attach the rail to the motor unit. Follow the manufacturer’s instructions to ensure a secure connection. Use the level to check that the rail is straight and aligned, as any deviation can affect the door’s movement. The header bracket supports the rail’s front end and should be mounted above the garage door. Use the tape measure to find the appropriate height, and secure the bracket to the wall with screws or bolts. Connect the rail to the header bracket, ensuring it’s firmly in place. Safety sensors are crucial for modern garage door openers, as they prevent the door from closing if an object or person is in the way. Install the sensors on each side of the garage door near the ground, aligning them so they face each other. Use a level to ensure proper alignment, and secure the sensors with brackets. The opener arm links the opener to the garage door. Attach the arm to the trolley and then to the door’s bracket. Ensure it’s securely fastened, as this component will bear the weight of the door as it opens and closes. Plug the opener into a nearby power outlet. Program the travel limits, which dictate how far the door should open and close. Adjust the force settings to control the power needed to move the door. Follow the manual’s instructions for specific programming steps based on your model. Perform several test runs to ensure the door opens and closes smoothly. Verify that the safety sensors function correctly by placing an object in the door’s path; the door should automatically reverse when the sensors detect an obstruction. Safety is paramount when installing a garage door opener, as mishandling components can lead to injuries or equipment damage. Here are some tips to keep in mind: Regular maintenance extends the life of your garage door opener and ensures smooth operation. Here are some maintenance tips: After installation, you might encounter minor issues. Here are common problems and their solutions: If the door stops short of closing, adjust the travel limits. Review your manual for the specific adjustments needed, and test the door again until it reaches the ground entirely. If the remote isn’t operating the opener, check its battery and ensure it’s programmed correctly. Move closer to the opener to ensure you’re within range. If the opener generates excessive noise, check for loose hardware, worn rollers, or insufficient lubrication. Apply lubricant to reduce friction and tighten any loose screws or bolts. Begin by assembling the opener according to the instructions, then attaching it to the garage ceiling. Install the track and align the opener with the door. Secure sensors, program remotes, and test operation. If you are unsure, professional installation is recommended. Press the “Learn” button on your opener, then press the button on your remote to complete the pairing. The opener’s light should blink, confirming a successful connection. Position both sensors opposite each other on each side of the door, ensuring they’re level and aligned. When correctly aligned, they should both have solid lights, allowing the door to close smoothly. If the remote isn’t working with fresh batteries, check the battery placement and clean the contacts. Reprogram the remote, and check for interference or obstacles near the opener. Locate the “Learn” button on your garage door opener, press it, and then press the button on your remote to program. The light on the opener should blink, confirming the remote is paired. Garage door opener installation can be rewarding, offering convenience and security. You can achieve a successful and long-lasting setup by selecting the right opener type, following each installation step carefully, and taking necessary safety precautions. Remember to conduct regular maintenance to keep your opener functioning smoothly and troubleshoot any issues promptly to prevent larger problems. With proper care and attention, your new garage door opener will provide reliable service, enhancing your home’s functionality and daily routine. When it comes to professional garage door opener installation, Doorways, is here to make your experience smooth, secure, and seamless. Our expert technicians understand the importance of a reliable opener, and we work with top brands to ensure that your installation meets the highest standards. We offer a comprehensive collection of residential garage door openers, parts, and accessories to suit every preference. For our commercial clients, we go beyond standard services by offering various products, including fire doors, hollow metal frames, and loading dock equipment. Whether you need overhead doors, glass doors, or specialty solutions, we’ve got you covered. Discover how Doorways, can enhance your space by visiting our homepage, exploring our residential and commercial collections, or contacting us directly through our contact page. Let’s get started on your installation journey today!
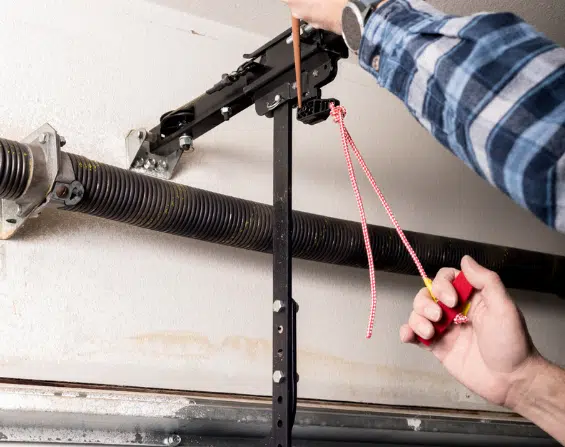
Understanding Garage Door Opener Types Before Installation
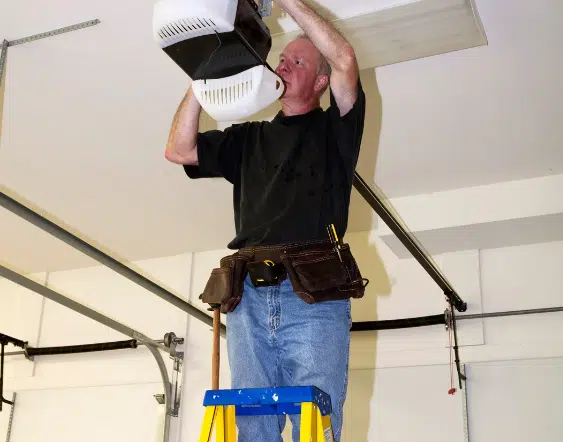
Chain Drive Openers
Belt Drive Openers
Screw Drive Openers
Wall-mounted (Jackshaft) Openers
Essential Tools and Materials for Garage Door Opener Installation
Step-by-Step Installation Process for a Garage Door Opener
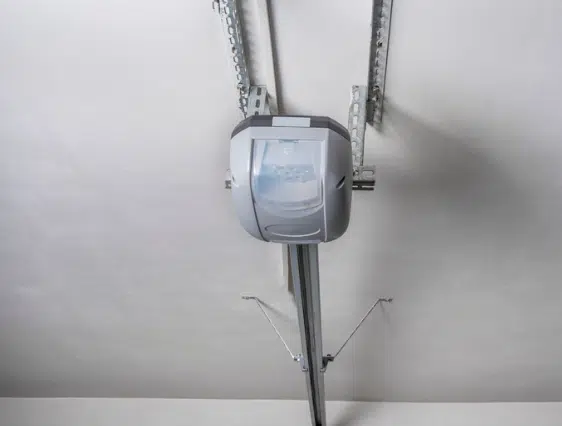
Step 1: Prepare the Garage Door
Step 2: Assemble the Opener Rail
Step 3: Install the Motor Unit
Step 4: Attach the Rail to the Motor Unit
Step 5: Install the Front Header Bracket
Step 6: Install the Safety Sensors
Step 7: Connect the Opener Arm to the Garage Door
Step 8: Connect the Power and Program Settings
Step 9: Test the Garage Door Opener
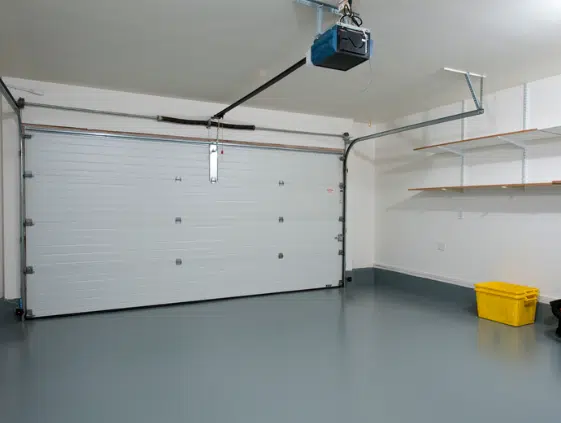
Essential Safety Tips for Garage Door Opener Installation
Maintenance Tips for a Newly Installed Garage Door Opener
Troubleshooting Common Issues After Installation
Door Doesn’t Close Fully
Remote Control Doesn’t Work
Opener Making Unusual Noises
FAQs on Garage Door Opener Installation
How do I install a garage door opener?
How do I pair my garage door opener?
How to align garage door sensors?
Why is my remote not working even with new batteries?
How to program a garage door remote control?
Conclusion
End Note
Popular Posts


Contact us today
How Can We Help?
Why choose Patrick Allen Companies? Enjoy attractive benefits and a company culture that lets you thrive.