
Few home repairs can be as nerve-wracking as dealing with a broken garage door spring. The issue often strikes at the most inconvenient times, leaving you with a door stuck halfway or won’t budge. Fortunately, replacing these springs with the right tools and precautions doesn’t have to be overwhelming. This guide will walk you through each process step, from gathering tools to restoring your garage door to perfect working order.
This guide provides essential tips for ensuring smooth operation, from securing the door to safely releasing the tension. You’ll learn to remove the old springs, install the new ones, and perform important safety checks. Keep reading to discover detailed steps to help you avoid mistakes and keep your garage door running efficiently for years.
Whether you’re an experienced DIYer or just starting, following these instructions carefully will help you get the job done right. So grab your tools, follow the guide, and soon, your garage door will work like new!
Step 1: Gather the Necessary Tools and Safety Equipment
Gathering all the necessary tools and safety gear before starting the replacement process is crucial. The right equipment ensures the job runs smoothly and, most importantly, safely.
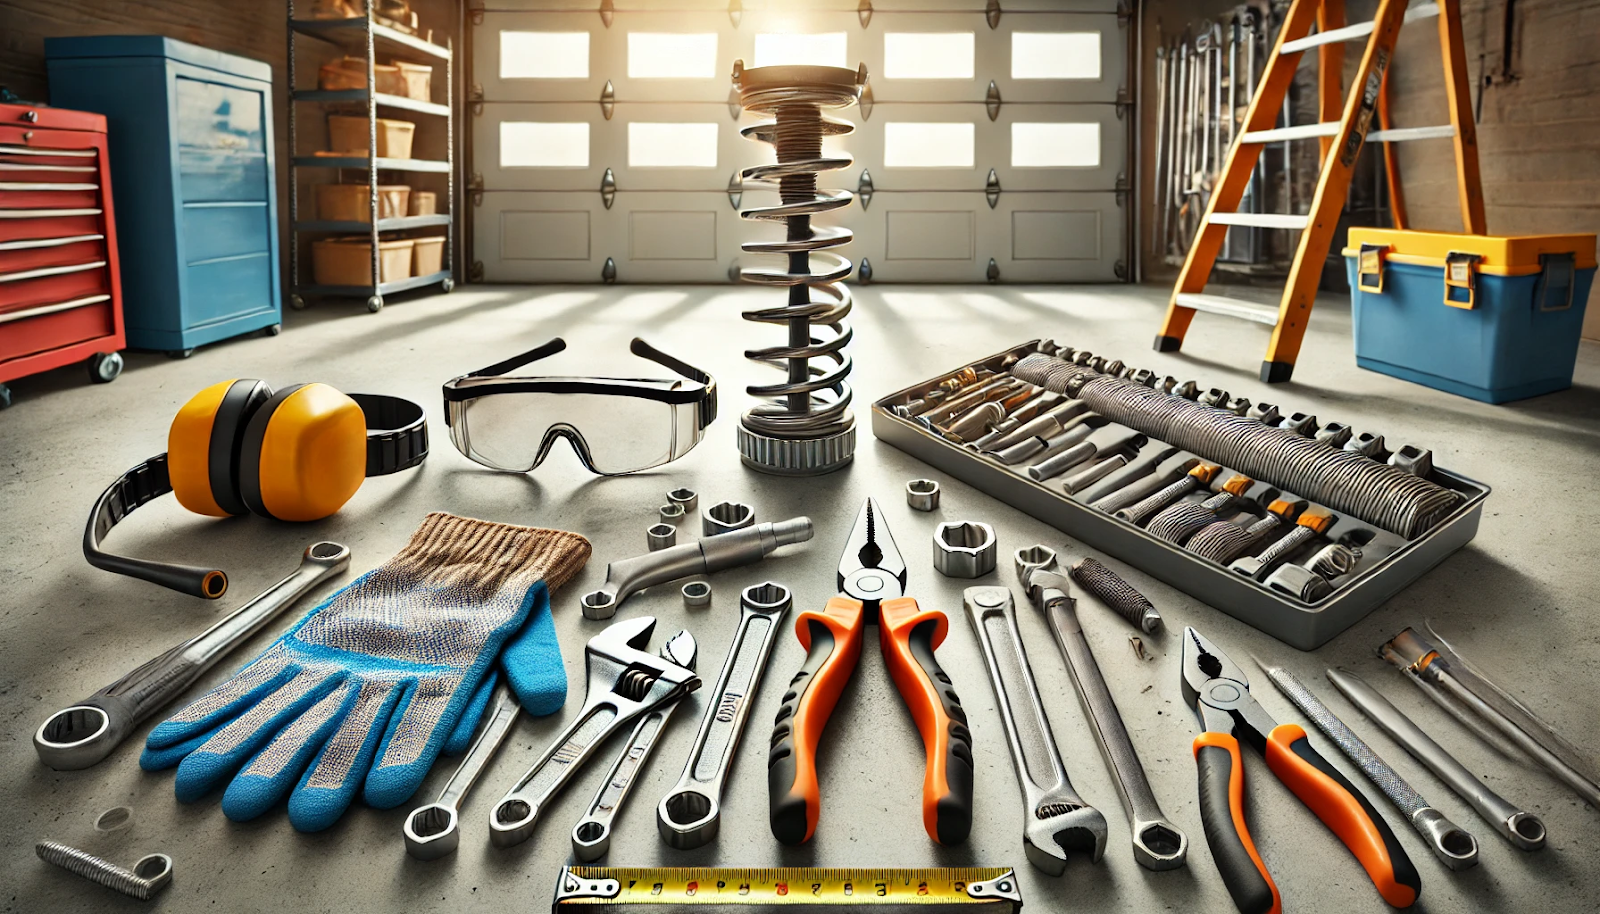
Tools and Equipment Required:
- Winding Bars: Special bars allow you to wind and unwind the tension in the torsion springs.
- Socket Wrench Set: This is needed to loosen and tighten the bolts and nuts that hold the garage door system together.
- Vice Grips: These will help clamp the torsion tube to stabilize the door while you work.
- Adjustable Wrench: Useful for minor adjustments.
- Ladder: A stable ladder is required to safely reach the garage door components.
- Tape Measure: For measuring the springs and ensuring the correct size replacement.
- Safety Goggles and Gloves: Personal protection is necessary when working with high-tension components like garage door springs.
Safety Precautions:
- Disconnect Power: Unplug the garage door opener to prevent any accidental movement.
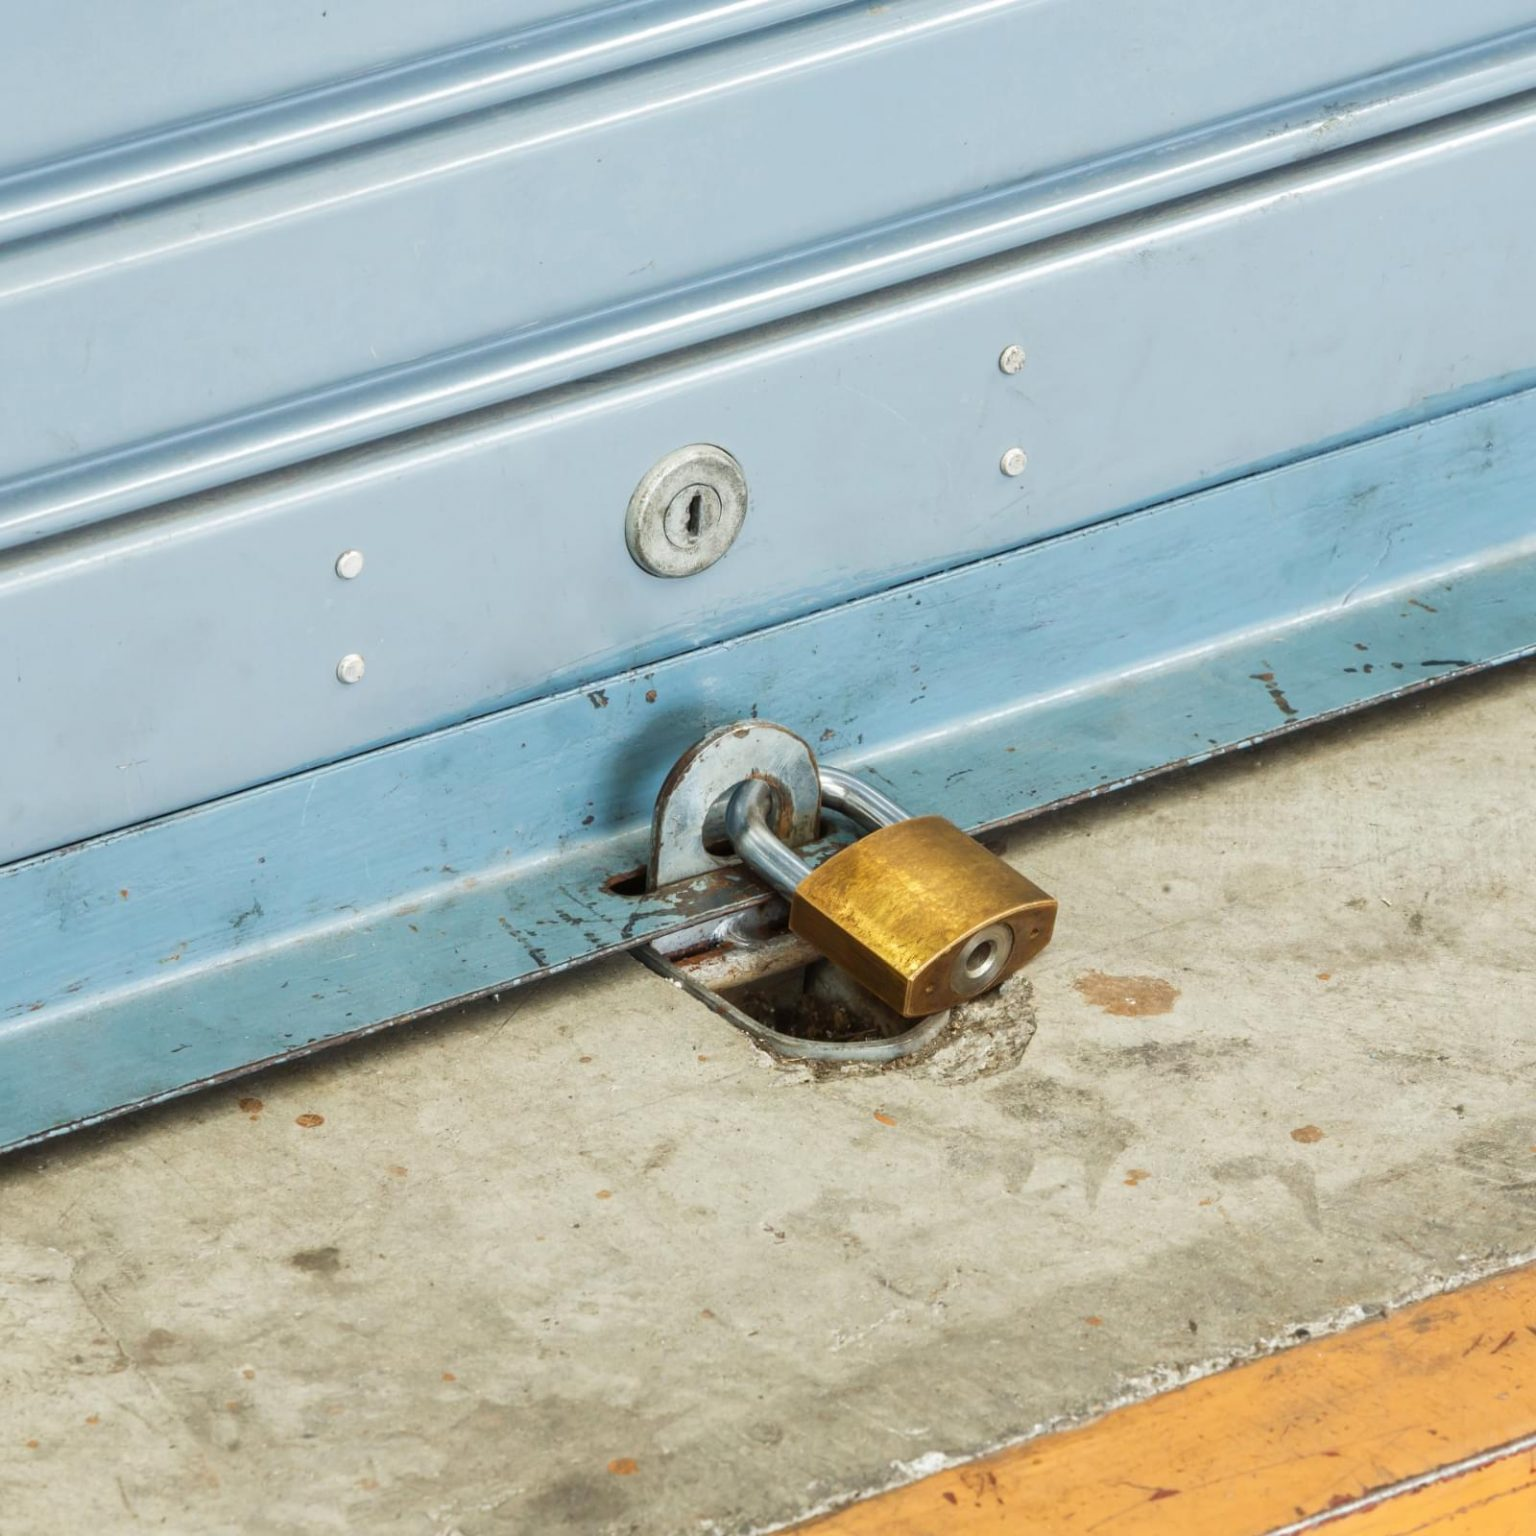
- Secure the Door: Ensure the door is firmly closed and locked to avoid unexpected drops.
- Wear Protective Gear: Your eyes and hands are most at risk, so wear safety goggles and gloves.
Being prepared with the right tools and following safety guidelines can prevent serious injuries, as garage door springs are tense.
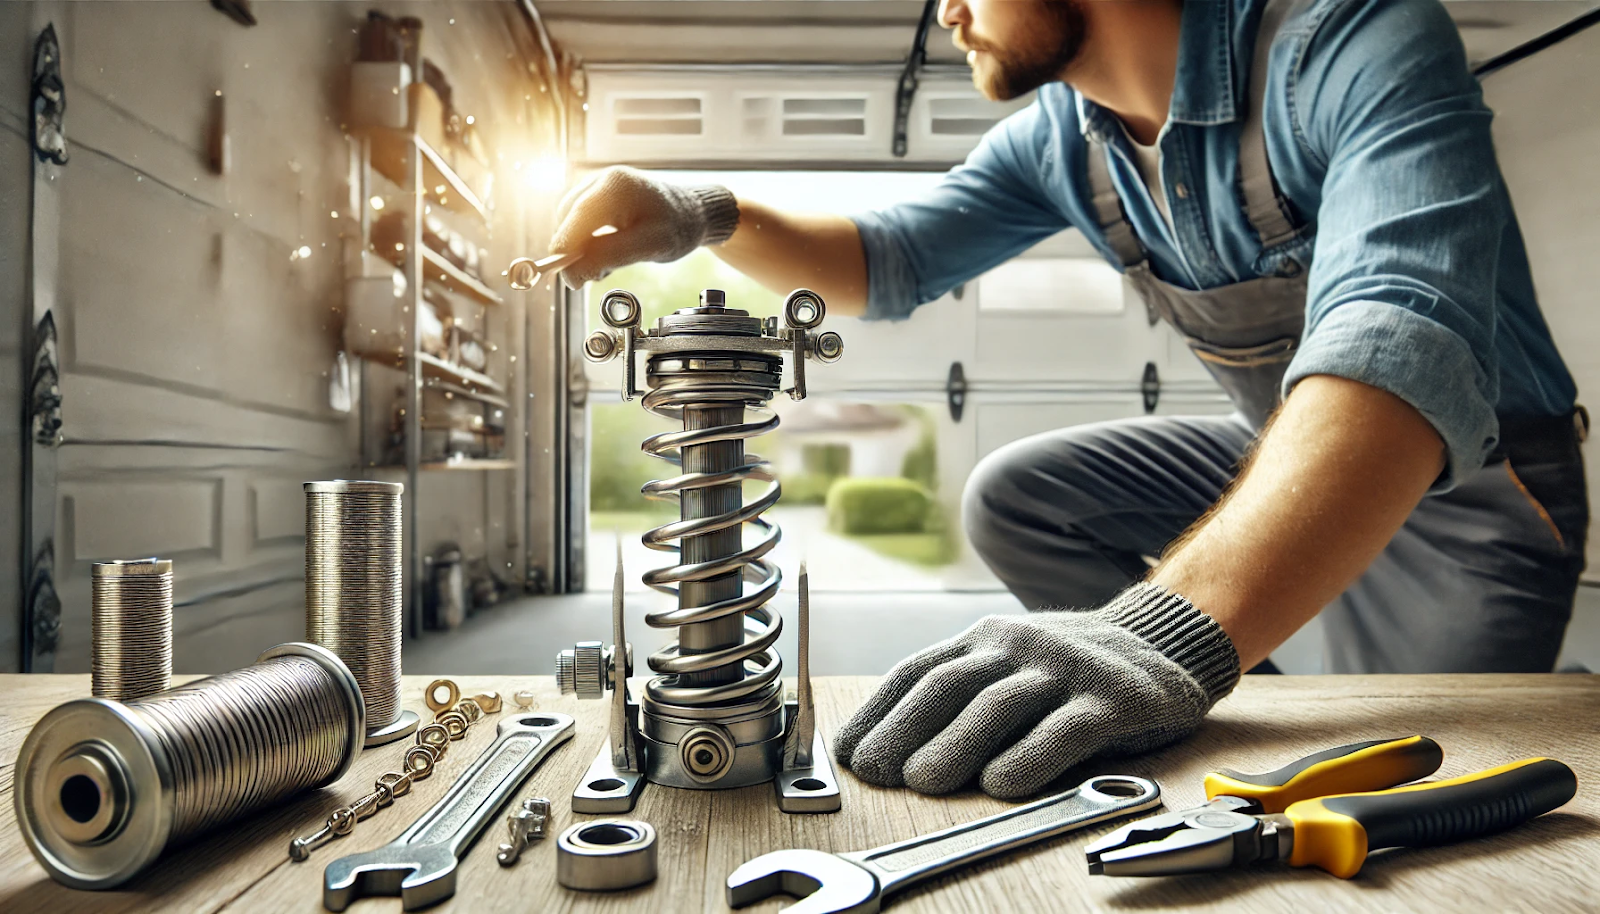
Step 2: Secure the Garage Door and Release Tension from Old Springs
Securing the door before removing the old springs is essential to avoid accidents during the replacement process. Here’s how to do it effectively:
Locking the Garage Door in Place
Start by closing the garage door entirely. If it’s already stuck in a half-open position due to a broken spring, carefully assist it or have someone help you safely lower it. Once closed, use C-clamps or locking pliers to secure the door’s track just above the rollers. This ensures the door stays in place while you work, preventing it from accidentally flying open and causing injury.
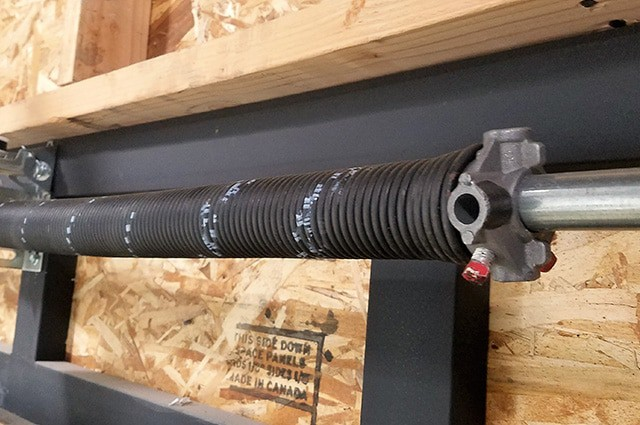
Releasing Tension from the Old Springs
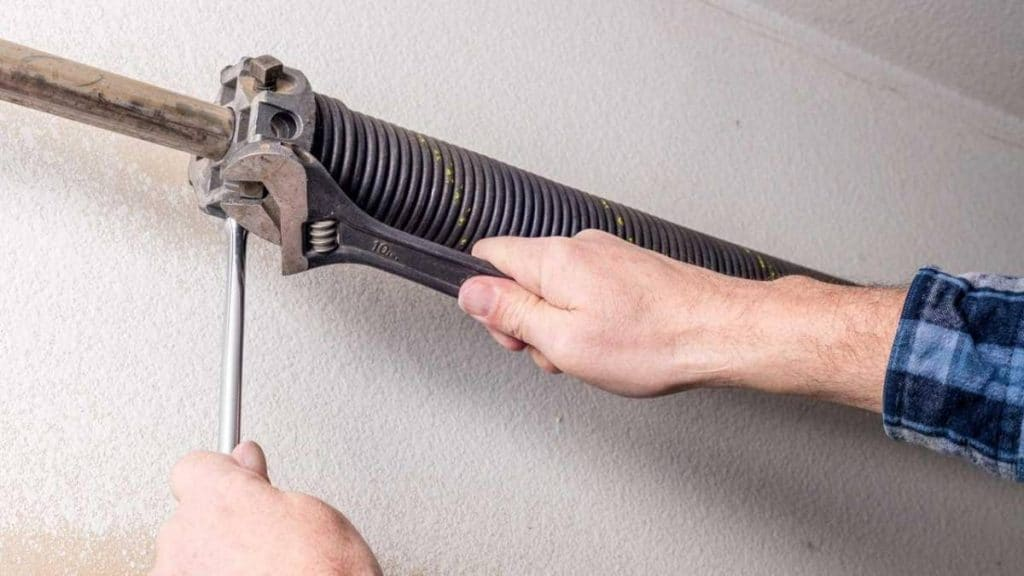
Garage door springs are wound tightly, holding substantial tension that needs to be safely released before removal. For torsion springs, insert the winding bars into the winding cone, turning them incrementally to release the tension slowly. Carefully loosen the screws that hold the spring to the center bracket, allowing you to unwind the spring.
If your door uses extension springs, open the door fully to release tension from the springs, then clamp the track as a backup. Once the door is fully open, use vice grips to hold the springs in place while you detach the safety cable. Release the tension slowly and steadily to avoid any sudden snaps.
Step 3: Remove the Old Springs and Install New Springs
Once the tension is released, you’re ready to remove the old springs. This step involves safely disassembling the necessary components to remove and replace the springs.
Disconnect the Old Springs
For torsion springs, loosen the bolts holding the spring in place on the center bracket. Slowly slide the springs off the torsion tube. These springs are heavy and could still carry some residual tension, so handle them carefully.
For extension springs, simply disconnect the safety cable from each spring and unhook the springs from the pulleys. Once the tension is fully released, they should slide off the brackets easily.
Inspect Other Garage Door Components
While the system is disassembled, inspect the other garage door components. Check the rollers, cables, and tracks for signs of wear and tear. If these components seem damaged, now would be the perfect time to replace them.
Install the New Springs
Next, you’ll install the new springs. Slide them onto the torsion tube for torsion springs, ensuring they’re seated correctly. Attach them to the center bracket and loosely tighten the screws to hold them in place. Hitch them into the pulley system for extension springs and reattach the safety cable to each spring.
It’s crucial to ensure you’re installing the correct type and size of spring for your garage door. Using the wrong springs could result in improper tension, malfunctioning or even damaging the door system.
Step 4: Wind the New Springs and Restore Tension
Now that the new springs are in place, it’s time to wind them up to the correct tension. This delicate step requires precision to ensure the garage door operates smoothly.
Winding Torsion Springs
Torsion springs must be wound in a specific direction to generate the right tension. Using winding bars, slowly and carefully wind the springs, following the manufacturer’s recommendations for the number of turns (typically marked on the spring or manual). As you wind, be cautious—apply even pressure and avoid jerky movements, which can result in misalignment or excessive tension.
Once wound, tighten the set screws to secure the springs on the torsion tube. Double-check that the springs are evenly wound and secure, ensuring the balance is distributed across the system.
Reattaching Cables and Pulleys (For Extension Springs)
If you’re working with extension springs, you must ensure the cables and pulleys are properly aligned before fully restoring the tension. Attach the cables to the garage door frame, ensuring there is no slack in the cable. Once the springs are connected, manually lift the door to verify smooth movement before restoring power to the opener.
Step 5: Reassemble the Garage Door System and Test Functionality
Now that the new springs are installed and the tension is restored, it’s time to assemble the garage door system.
Reassemble the Door
Ensure all components, such as brackets, cables, and pulleys, are securely reinstalled. Remove any clamps or locking pliers you used to hold the door in place during the spring replacement.
Test the Garage Door
Manually lift the door to test its balance and smooth operation. A properly tensioned garage door should glide smoothly without jerky movements or excessive force. If the door seems challenging to lift, the springs may need additional winding, or there may be an issue with the alignment of other components.
Once you’re satisfied with the manual operation, reconnect the power to the garage door opener and test the door’s automatic functionality. Open and close the door several times, listening for unusual sounds like grinding or squeaking. If everything is working smoothly, you’ve successfully replaced the springs!
Step 6: Perform Regular Maintenance and Inspection
Regular maintenance and periodic inspections will prolong the life of your garage door’s springs and other components, reducing the need for garage door repair. Performing simple tasks every few months can help you avoid costly repairs and ensure your garage door remains in top condition.
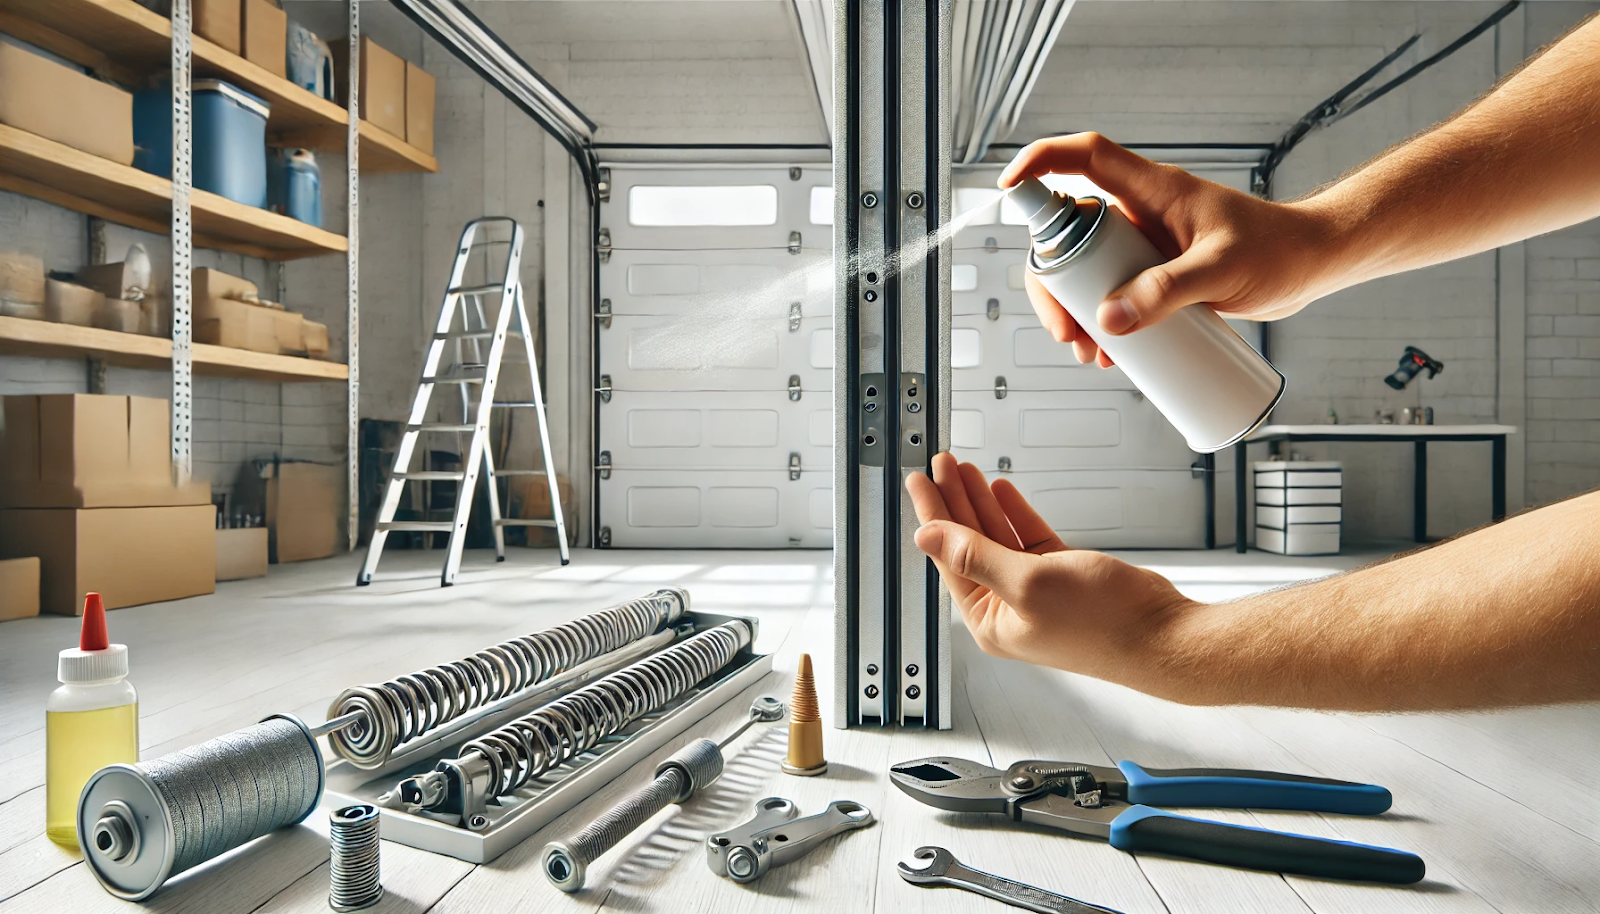
Lubrication
Keep your springs, rollers, and hinges well-lubricated to reduce friction and ensure smooth movement. Lubricate these parts with a silicone-based spray or light motor oil about once every six months.
Visual Inspection
Check your springs and other components for signs of wear, rust, or misalignment every few months. If you notice any fraying cables, bent brackets, or sagging springs, address the issue promptly to avoid larger problems.
Tighten Loose Bolts
Garage doors vibrate during operation, which can cause bolts and screws to loosen over time. Periodically check the bolts that hold the brackets, hinges, and tracks in place, tightening them as needed.
By staying on top of regular maintenance, you can extend the life of your garage door springs and keep your garage door operating safely and smoothly.
Frequently Asked Questions (FAQs)
How long does it take to replace a garage door spring?
A professional technician typically takes 1 to 2 hours to replace a garage door spring. The time may vary depending on the door size, spring type, and condition of other components. DIY replacements may take longer due to the need for careful preparation and safety measures.
How to know if garage door springs are bad?
You can tell if garage door springs are bad by looking for signs like a crooked door, loud noises during operation, or difficulty opening and closing the door. If the springs are visibly broken or stretched, it’s time for a replacement.
What is the life of a garage door spring?
The lifespan of a garage door spring is typically measured in cycles, with one cycle being a full opening and closing. Most garage door springs last between 10,000 to 20,000 cycles, approximately 7 to 10 years with regular use.
Should I replace both garage door springs at the same time?
Yes, replacing both garage door springs simultaneously is generally a good idea, even if only one is broken. This ensures balanced tension and smoother operation, as both springs will wear out at the same rate and prevent additional stress on the garage door system.
Will garage door still work with broken spring?
A garage door may still open with a broken spring, but operating manually or with the opener will be much harder and unsafe. The door may not open at all, or it could slam shut unexpectedly, posing a significant safety risk. It’s best to replace the spring as soon as possible.
The Bottom Line: Why Replacing Garage Door Springs Safely is Essential
Replacing the springs on a new garage door is a delicate yet rewarding task, especially for those comfortable with DIY projects. Due to the tension involved, careful handling and safety precautions are required, but following the correct steps ensures the process goes smoothly. By gathering the proper tools, releasing and restoring spring tension cautiously, and performing regular maintenance afterward, you can save on repair costs and extend your garage door’s lifespan.
For homeowners, understanding the process not only empowers you to handle small fixes but also ensures you can spot potential issues early, avoiding major breakdowns. With patience and attention to detail, your garage door will function like new again.
End Note
At Patrick Allen Companies, we provide high-quality service for all your residential and commercial needs. If you’re facing challenges like a broken garage door spring, our residential services cover everything from garage door repairs to complete replacements, ensuring your home stays secure and functional. For those of you with bigger projects, we also specialize in replacement windows, shower doors, and more to enhance your home’s aesthetics and efficiency.
If you’re a business owner, our commercial services have you covered, from overhead doors to fire doors and loading dock equipment, ensuring your operations run smoothly. Explore more about what we offer on our blog, and if you need assistance or have questions, don’t hesitate to reach out through our contact page. Learn about our company on our about page or explore exciting career opportunities. Whether residential or commercial, we’re your trusted partner. Check out our full range of services here and here!

